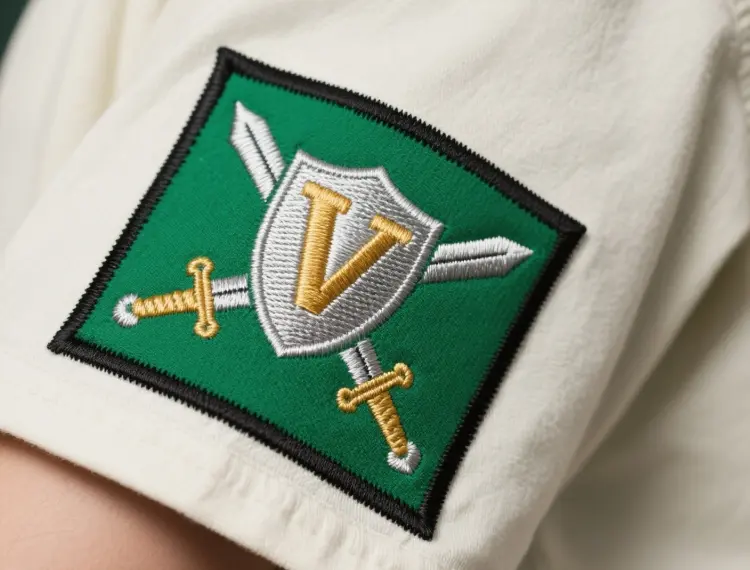
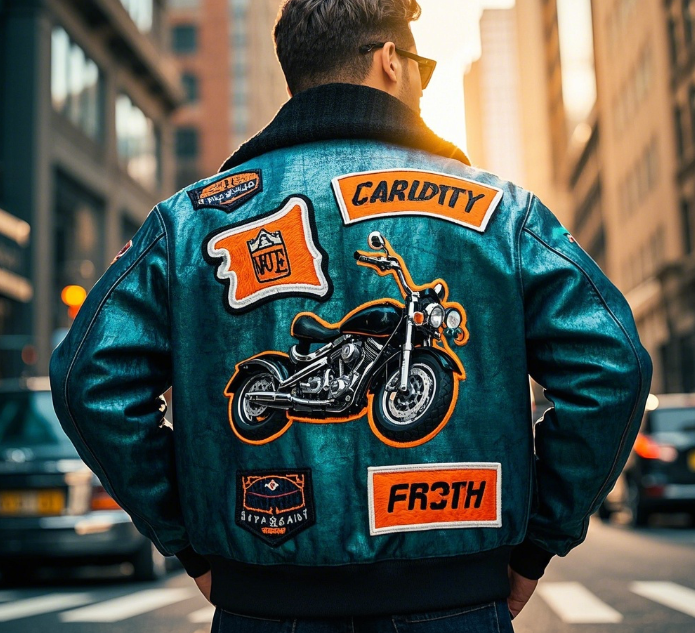
In the personalized apparel market, large embroidered patches have become the preferred method of embellishment for many brands and individuals due to their beautiful craftsmanship and durability. Whether it’s for jackets, sportswear, bags or hats, large embroidered patches can enhance visual impact and provide a unique style statement. In this article, we’ll take an in-depth look at the process of making large embroidered patches to help you understand the entire process from design to finished product.
Design and digitization
The first step in the creation of a large embroidery patch is to design the pattern and convert it into a format that the embroidery machine will recognize.
- Vectorizing the design: using Adobe Illustrator or CorelDRAW to create a clear vector drawing so that the embroidery machine can accurately recognize the outlines and details.
- Embroidery digitizing: Convert designs to embroidery machine format and adjust stitch patterns and densities using specialized software such as Wilcom and Embird.
- Test optimization: test embroidery on a small sample of fabric to check the effect of the stitches and adjust the embroidery direction and fill density.
Selecting Embroidery Materials
The choice of material for embroidered patches determines the texture and durability of the final product.
Fabric base:
- Twill: high abrasion resistance, suitable for a wide range of garments.
- Felt: soft texture, suitable for vintage style patches.
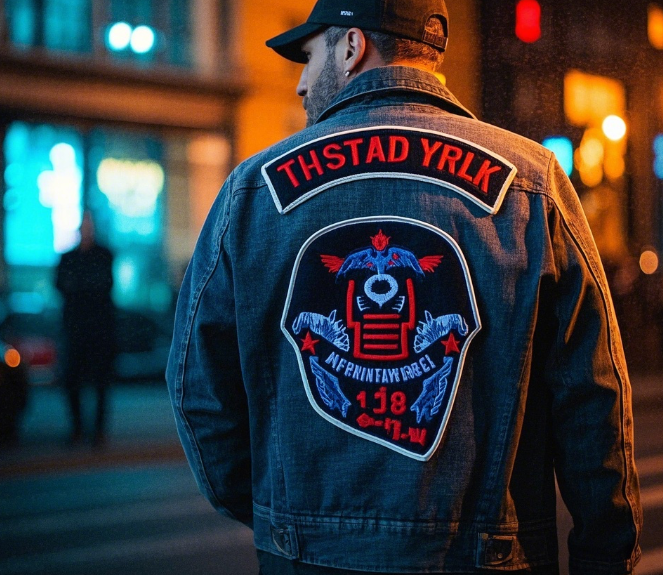
- Denim: Suitable for heavy apparel, enhances rugged style.
Embroidery thread:
- Polyester thread: abrasion-resistant and waterproof, suitable for daily wear.
- Rayon thread: glossy, suitable for high-end patches.
- Metallic thread: for luxury style patches, such as skull embroidery patches.
Embroidery Craft Analysis
The choice of embroidery process affects the visual effect and durability of the patch.
- Flat needle embroidery: for delicate patterns, suitable for complex text and small details.
- Satin embroidery: for patterns with smooth edges, giving the patch a three-dimensional look.
- Towel embroidery: creates a fluffy texture, suitable for vintage style patches.
- Three-dimensional embroidery (3D embroidery): by using foam material, the embroidered part is highlighted and has a more layered look.
Edge Finishing and Trimming
Once the embroidery is complete, the patches need to be trimmed to ensure aesthetics and durability.
- Thermal Cutting: For polyester substrates, the edges are precisely trimmed by laser cutting.
- Embroidery hemming: adding extra satin stitching to prevent the fabric from unraveling.
- Hand trimming: for special shaped patches to improve finesse.
Backing and Adhesion Process
Choose the appropriate backing process according to the application.
- Hot melt adhesive backing: suitable for large iron on patches that can be directly ironed on and pasted.
- Velcro backing: suitable for removable patches, such as tactical clothing or customized airsoft patches.
- Sew-on adhesive backing: suitable for long term fixed patches, such as customized sportswear patches.
Combine different styles of patches
- Skull embroidery patches: suitable for street trend style, combined with metallic thread can increase the visual impact.
- Customized sportswear patches: using satin embroidery process to make the logo and text more clear.
- Large Iron-On Patches: with hot melt backing for quick installation.
The production of large embroidered patches involves multiple steps, from design and material selection to craftsmanship and post-processing, each of which affects the final result. Through reasonable process selection and high-quality production control, you can create unique embroidered patches that add personalized charm to your apparel. If you want to create high-quality patches, try these specialized processes!